Automatic plant watering systems for Indian homes and offices: drip with a tap timer, pump kits, Wi-Fi, solar and self-watering pots, with costs in ₹ and setup.
Updated 6 October 2026
Part 1
How an automatic plant watering system works
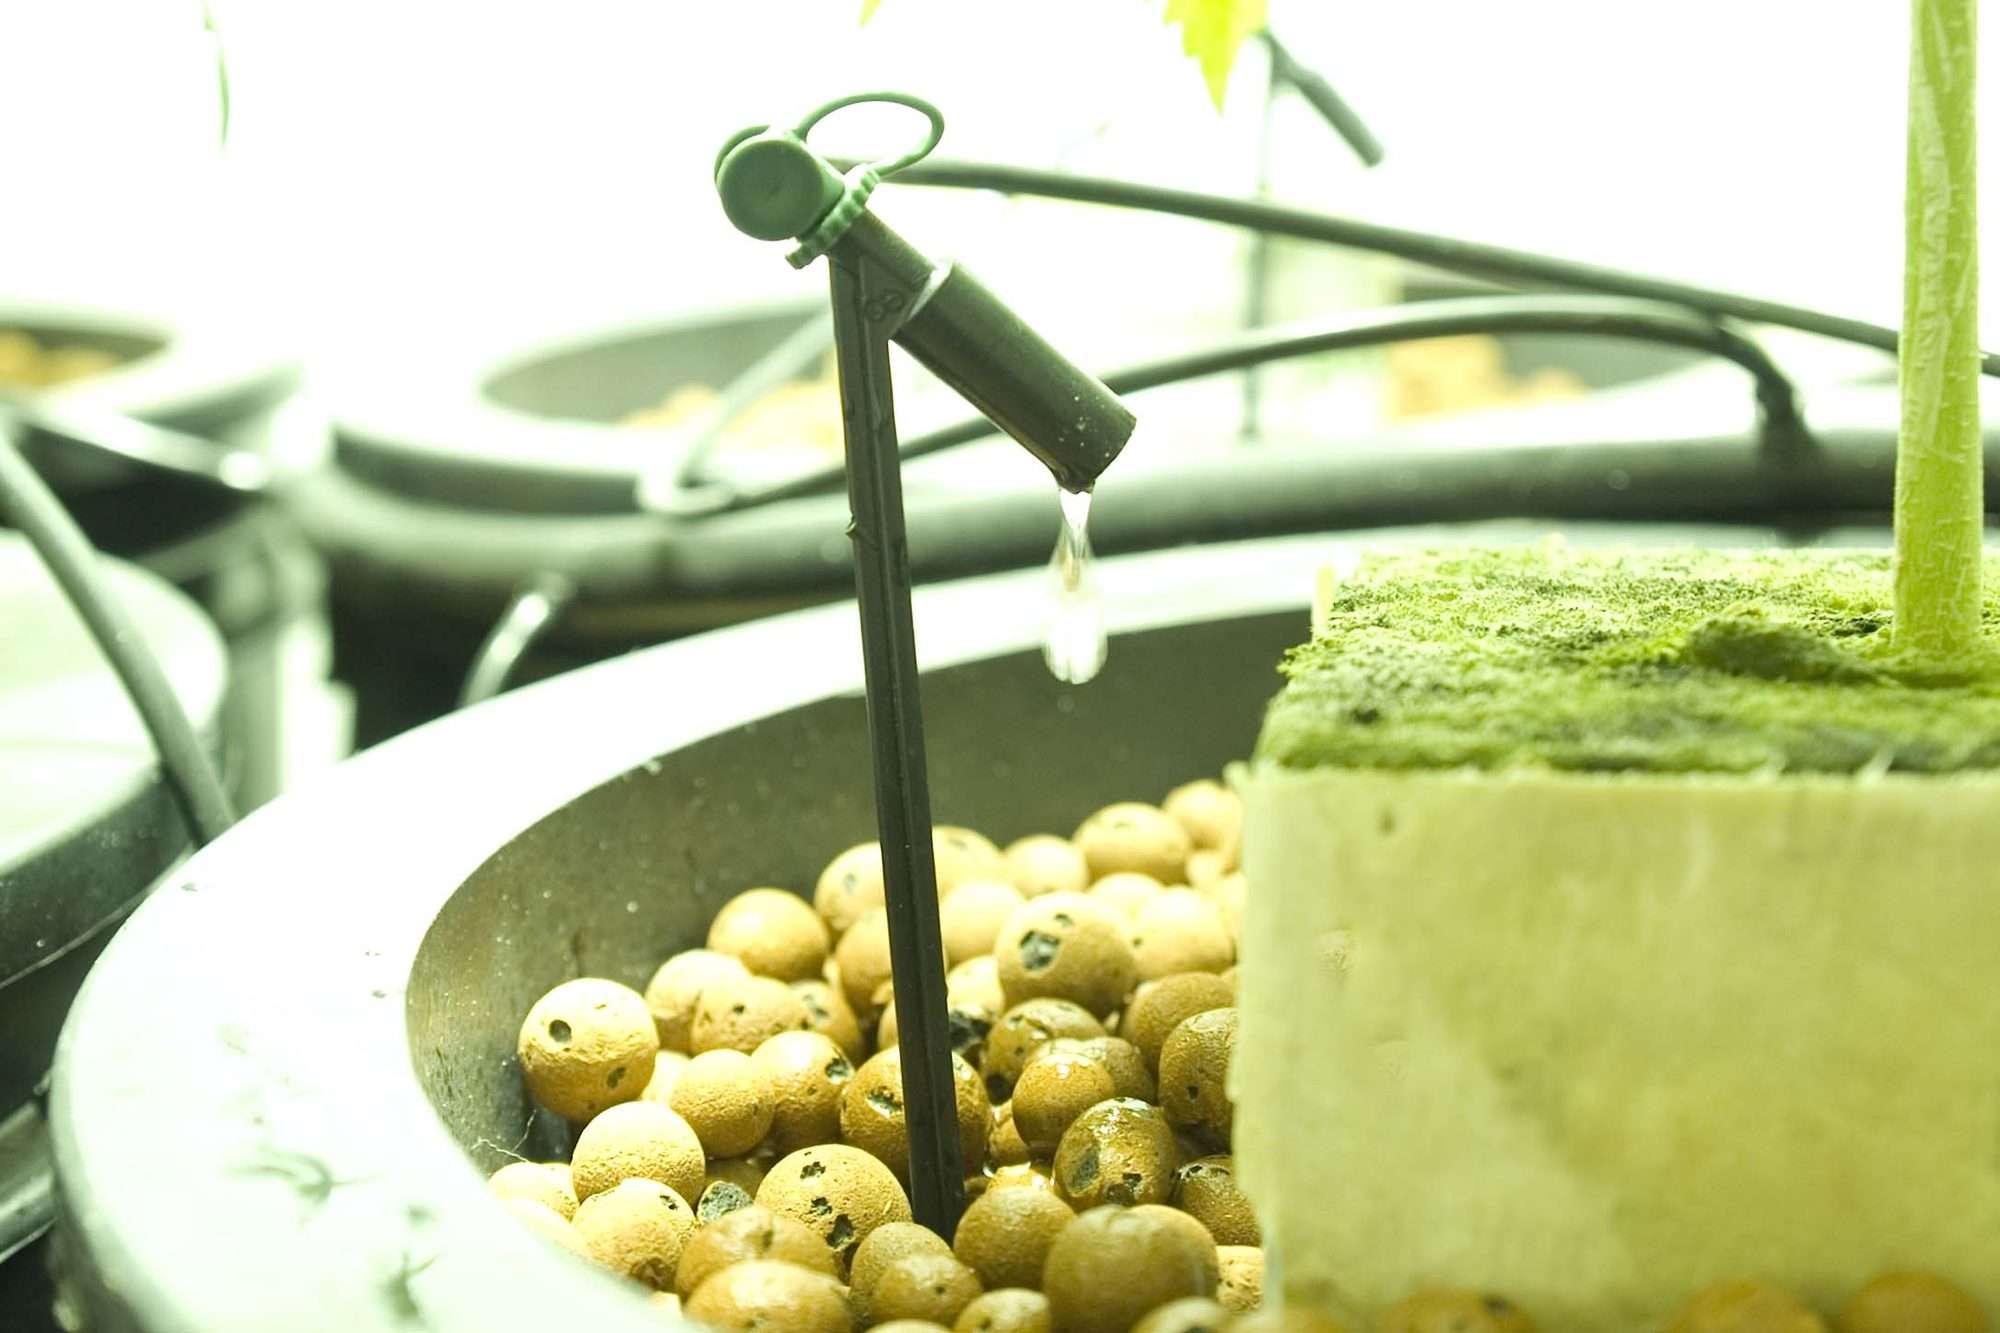
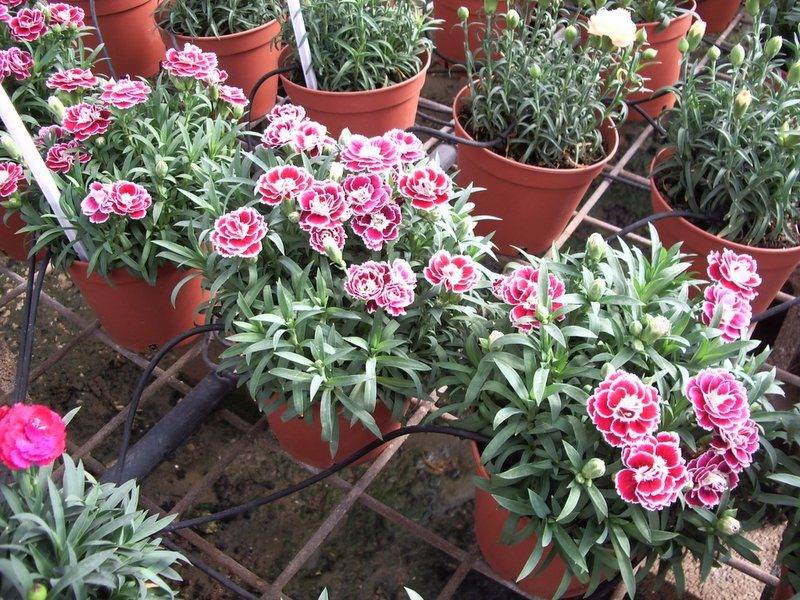
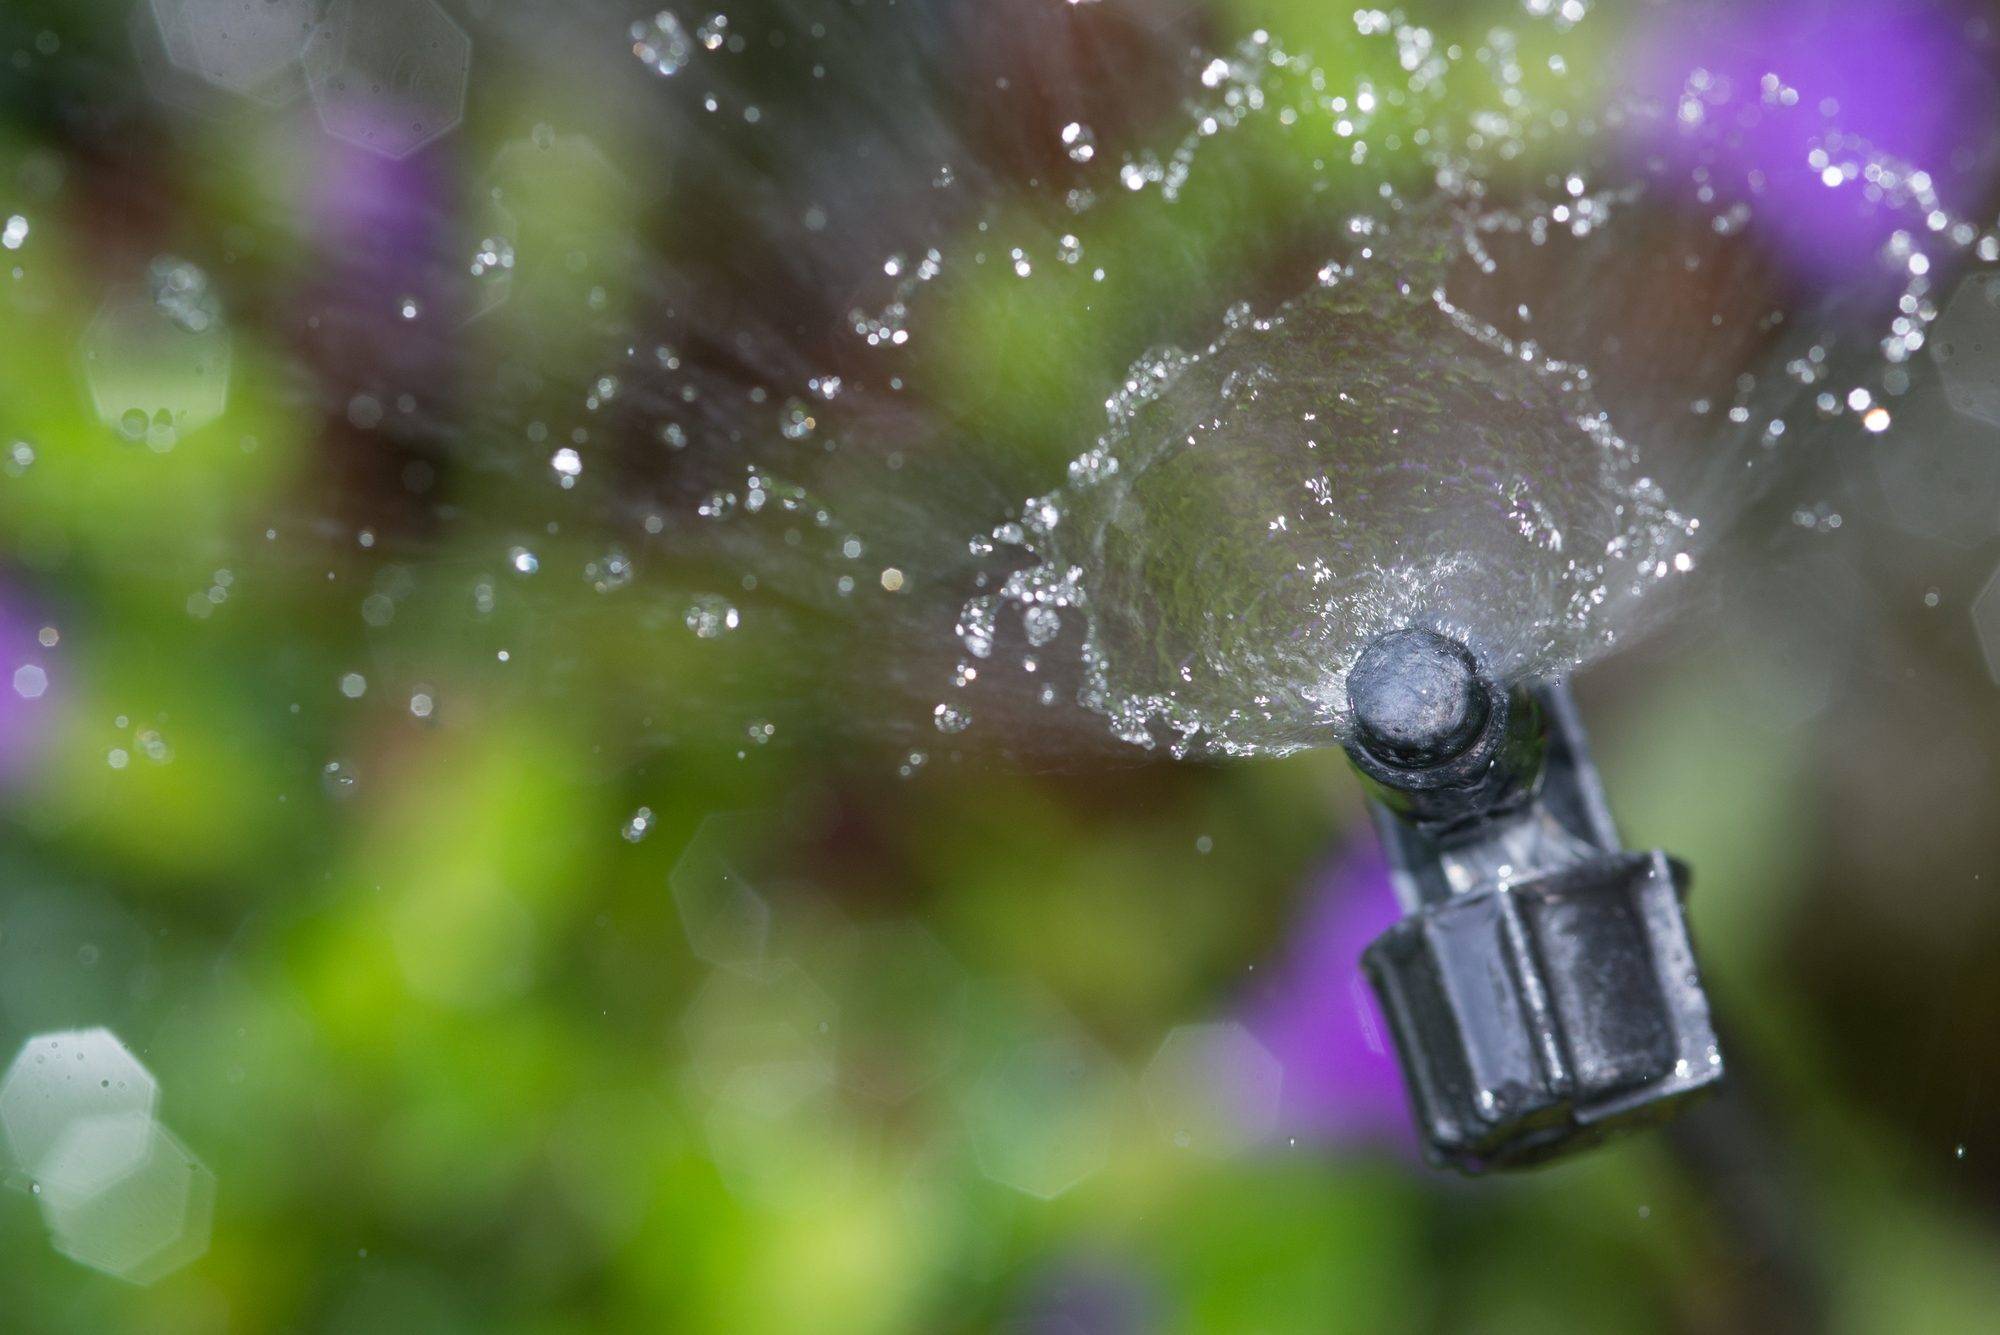
Every system has the same four parts. A water source: a tap, an overhead tank, or a bucket or drum. A controller that decides when and how long to water: a battery tap timer, a pump with a built-in timer, a Wi-Fi controller or a soil-moisture sensor. A main pipe, usually 16 mm on terraces and gardens or 4–6 mm thin tubing on balconies. And an outlet at each plant: a dripper, a micro-sprinkler or a spray stake.
At the set time the timer opens the valve or starts the pump, water runs through the pipe, and each dripper lets out a slow, steady flow at the root of the plant. Nothing splashes on the leaves or the floor, and a pot that needs more water simply gets a second dripper. When the time is up, the water stops.
Self-watering pots, wick watering and clay spikes work differently. They have no timer at all: the soil pulls water from a small reservoir as it dries. That is why people search "self watering for plants": it is the simplest kind of automatic watering, and for a few indoor pots it is often all you need.
Part 2
Types of automatic watering systems
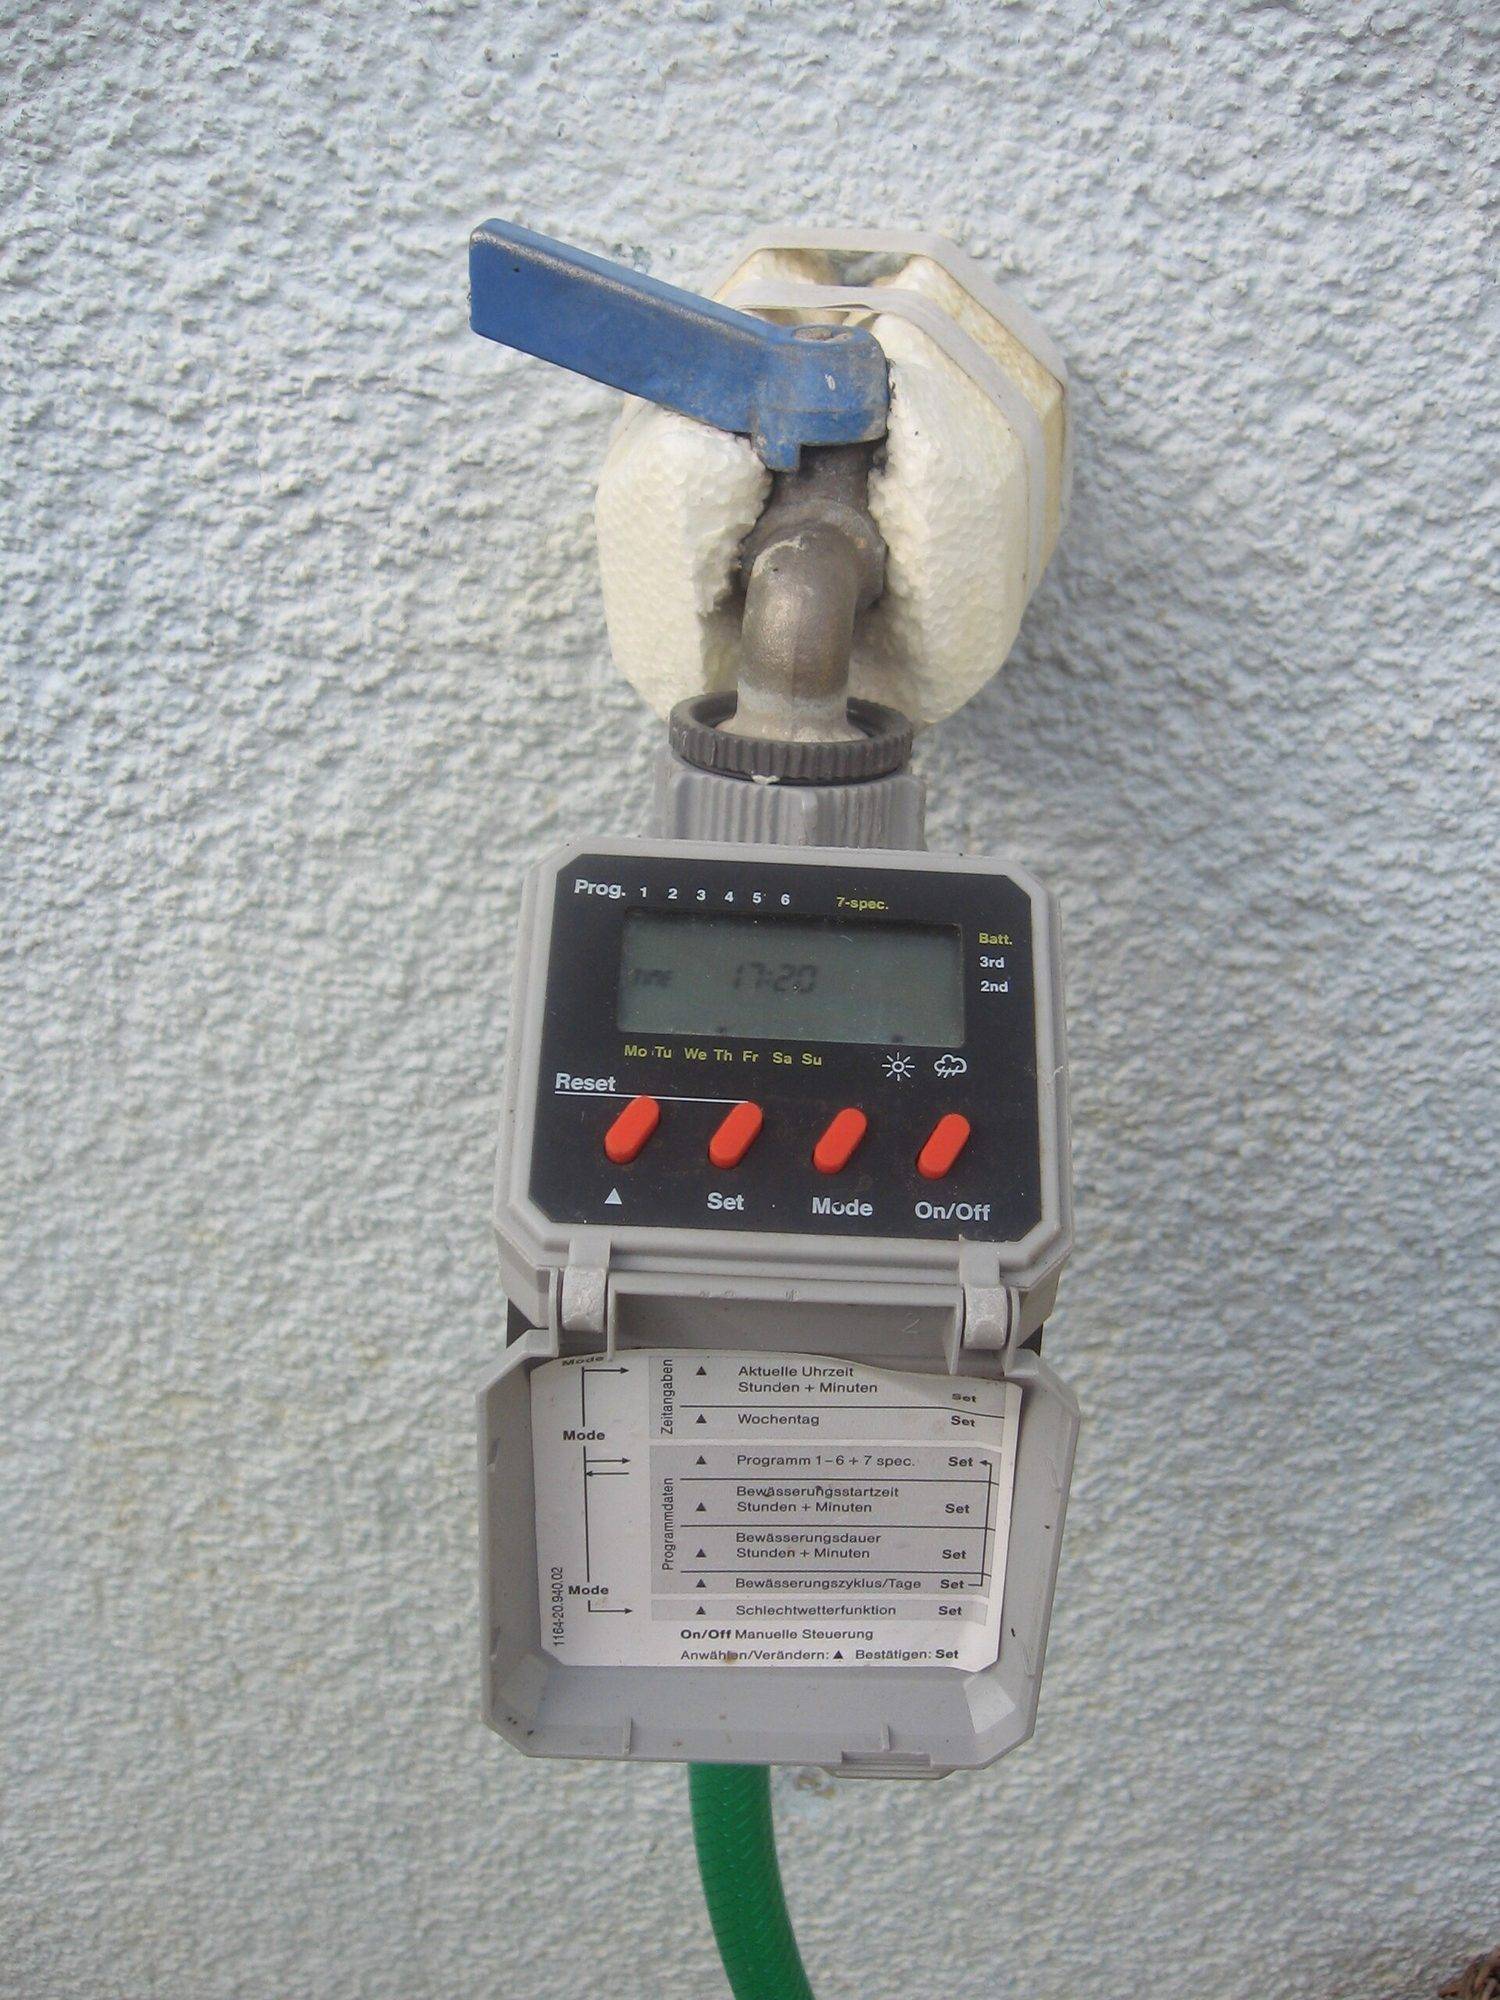
Tap timer with a drip kit. A battery timer screws onto the tap and opens it for a set number of minutes, once or several times a day. From the timer a pipe runs past every pot with a dripper in each. It is the best value for any balcony, terrace or garden that has a tap, and the most common system we install.
Pump kit with a tank or bucket. For balconies with no tap, a small pump sits in a bucket, drum or tank and pushes water through thin tubing to 10–20 pots. Most run on a USB adapter or AA batteries, and the timer is built in: typical units water for a few seconds up to 30 minutes, every hour up to once a week. A 20 litre bucket lasts days, depending on how many pots you have.
Wi-Fi or app-controlled controller. The same tap or pump system, but you set and change the schedule from your phone, skip a day when it rains and get an alert if the tank runs dry. Useful when you travel often or look after plants at a second home or an office.
Soil-moisture sensor system. A probe in one pot tells the controller when the soil is dry, so it waters only when needed. Cheap hobby kits with a sensor, relay and mini pump suit students and tinkerers; for daily use, a sensor works best as an add-on to a timer, not a replacement for it.
Solar-powered pump. A small solar panel charges a battery that runs the pump, so there is no plug or battery change. Good for terraces and farmhouses with no power point near the plants. It needs a few hours of direct sun on the panel.
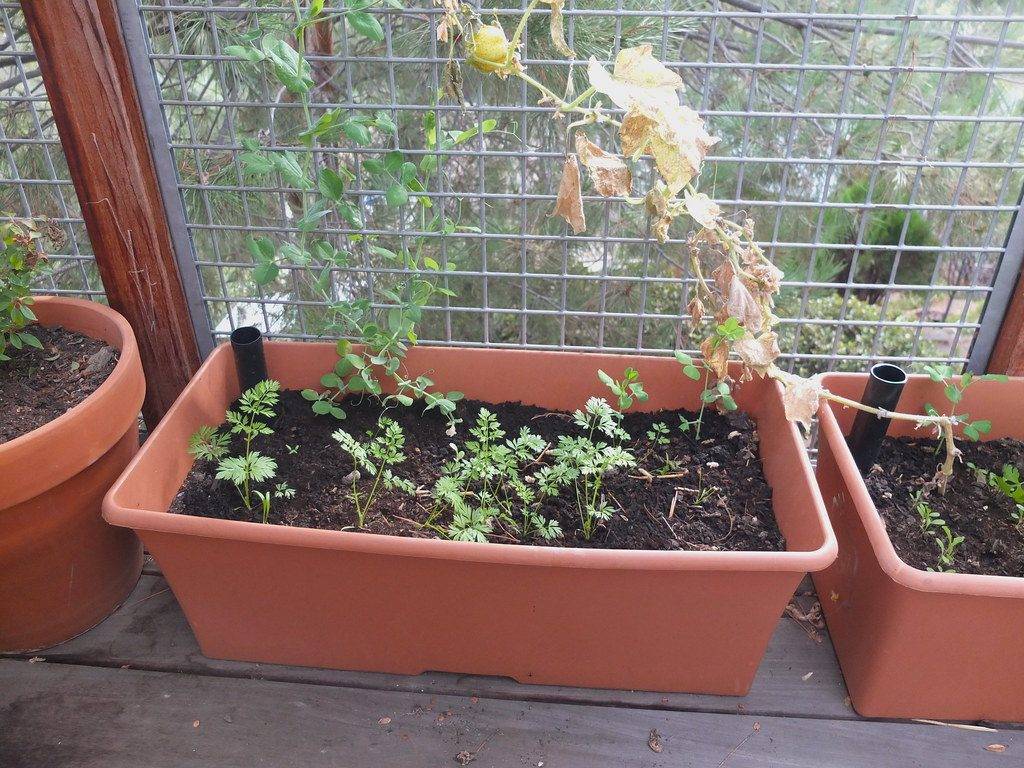
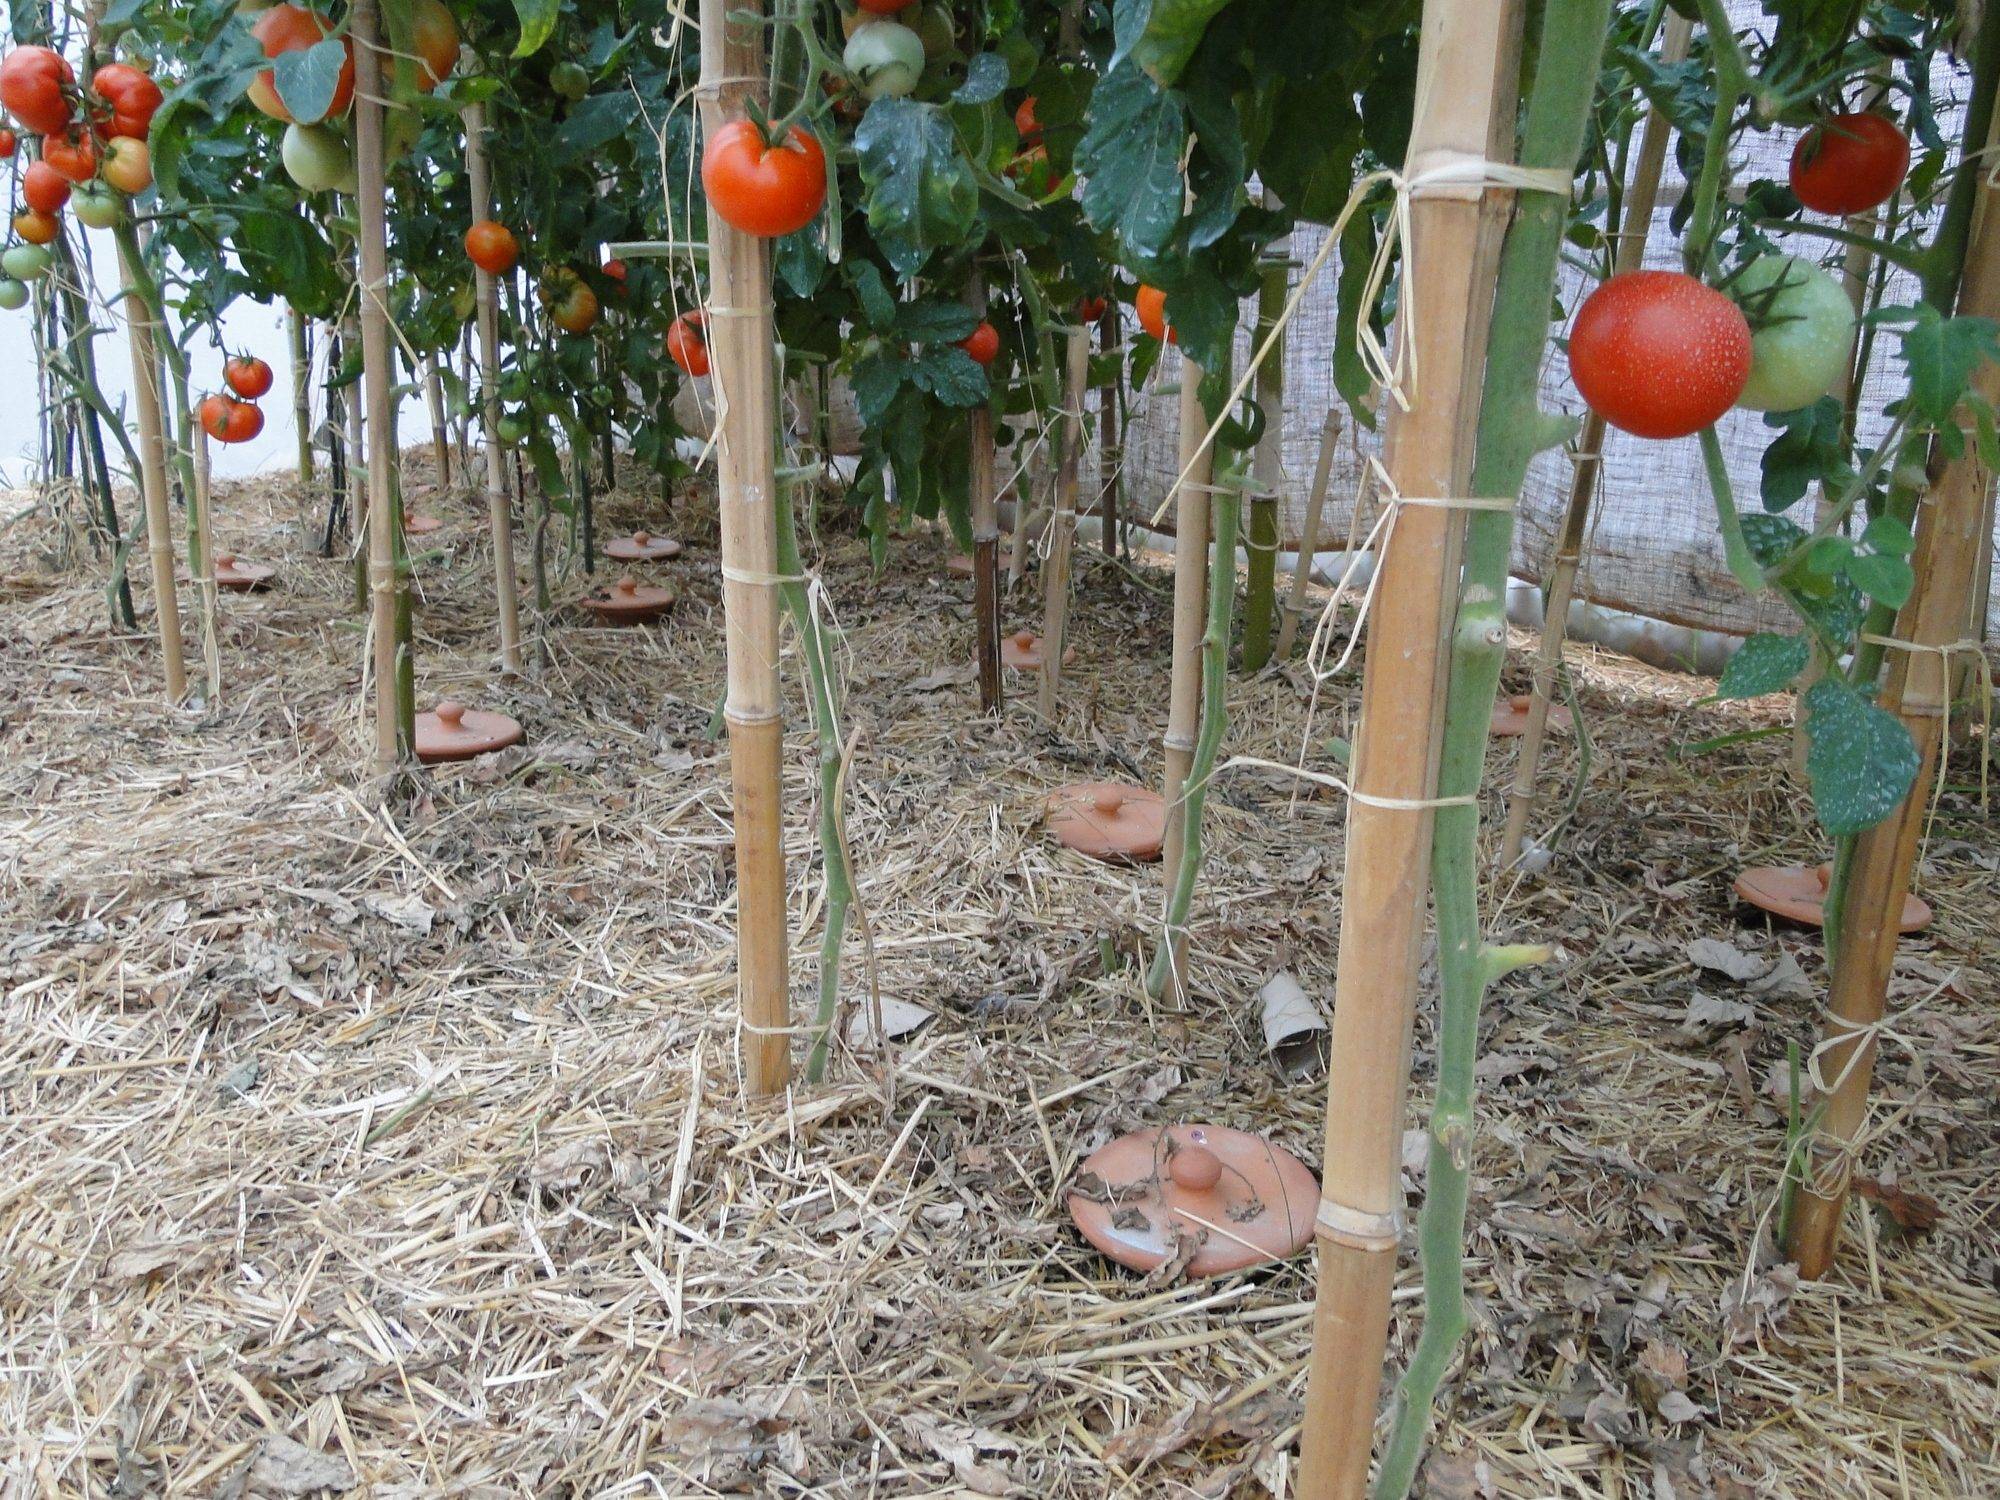
Self-watering pots, wicks, clay spikes and bottle drippers. A self-watering pot has a reservoir under a false bottom; a wick of nylon cord draws water up into the soil. A terracotta spike or a buried clay pot (olla) seeps water slowly as the soil dries. A bottle turned upside down on a spike does the same for a few days. No electricity, no timer, and very cheap, but each one serves only one pot.
Part 3
Which system suits your space
Start with two questions: is there a tap near the plants, and how many pots are there? The table gives our usual answer for each kind of space.
| Space | Best choice | Why | Watch out for |
|---|---|---|---|
| Balcony with a tap, 10–40 pots | Tap timer + drip kit | Cheapest per pot, no tank to refill | Low tap pressure on upper floors; check it first |
| Balcony with no tap | Pump kit with a bucket or tank | Works anywhere there is a plug or batteries | Refill the tank before a long trip |
| Terrace garden or kitchen garden | Tap or overhead-tank line with drippers and micro-sprinklers | Handles 50–200 pots, beds and grow bags | Sun on the pipes; use UV-stable pipe |
| Indoor plants, 3–10 pots | Self-watering pots, or a small pump kit with saucers | No mess on floors and furniture | Overwatering; indoor pots need far less water |
| Garden or lawn | 16 mm drip line + micro-sprinklers on a mains timer | Even watering over beds and lawn strips | Rats and lawn mowers cutting lines |
| Office, lobby or society | Planters with reservoirs, or a drip zone on a mains timer | No daily watering by staff; neat floors | Planned maintenance visits |
| Farmhouse or orchard | Drip line from a tank or borewell, solar or mains pump | Saves water and labour across many trees | Filters and water quality |
Part 4
Automatic plant watering system cost in India
Prices below are approximate selling prices we saw online in October 2026, rounded. They change often and vary by brand and pack size, so use them to compare types, not as quotes.
- A kit is cheaper; an installed system is laid to your pots, hidden neatly, set up for your water pressure and serviced.
- Add 10–20% for spare drippers, extra pipe and a filter if your water is hard or comes from a tank.
- Ready kits for home balconies, including a Wi-Fi controller kit, are sold at automaticplantwatering.com.
- Installed prices in other cities differ a little from Pune; ask us for your city.
| System | What you get | Approximate price |
|---|---|---|
| Drip kit without timer | Pipe, drippers and fittings for 10–100 plants | ₹300–2,500 |
| Tap timer alone | Battery timer for a garden tap | ₹1,200–2,500 |
| Tap timer + drip kit | Timer, pipe and drippers for about 10–50 plants | ₹2,500–4,500 |
| Pump kit (no tap) | Pump with timer, tubing and drippers for about 10 pots | ₹2,500–5,000 |
| Solar pump kit | Solar panel, pump and drippers for about 10 pots | ₹4,000–6,000 |
| Wi-Fi or app kit | Pump or valve controlled from the phone | ₹7,000–15,000 |
| Soil-moisture hobby kit | Sensor, relay and mini pump to assemble | ₹200–2,000 |
| Self-watering pots | Set of five small 4–5 inch pots | ₹300–800 per set |
| Terracotta watering spikes | Set of four | About ₹350–500 |
| Installed system (Garden & Acre) | Survey, drip lines, drippers, timer and a yearly service | From ₹4,500 per home kit in Pune |
Part 5
How to size your system: pots, drippers and minutes
Drippers are rated in litres per hour (L/h), usually 2, 4 or 8 L/h, or adjustable. A 2 L/h dripper running for 10 minutes gives about a third of a litre; for 30 minutes, about one litre. Size by pot, not by plant:
- First run: water for 5–10 minutes and look at the pots. When water just starts to drain from the bottom, that is your run time. If it floods out, shorten it; if the soil is still dry lower down, lengthen it or add a dripper.
- Summer (March to June): usually every day, and on hot west-facing terraces small pots may need two short runs, morning and evening.
- Monsoon (June to September): switch the timer to rain-skip or pause it on open terraces and balconies that get rain. Pots under a roof still need water, but less.
- Winter (November to February): every second or third day for most pots in Pune, Mumbai and Bengaluru; in north India, water less when nights are cold.
- Group thirsty plants and dry-loving ones on separate lines or timers. Aloe, jade and other succulents want a fraction of what gudhal or tomato need.
- Pump kits: count the water. Ten pots at 2 L/h for 10 minutes use about 3.3 litres a day, so a 20 litre bucket lasts about six days.
| Pot size (top width) | Drippers | Example plants |
|---|---|---|
| Up to 25 cm (10 inch) | 1 | Tulsi, money plant, chilli, aloe (on a low setting) |
| 25–38 cm (10–15 inch) | 2 | Gudhal (hibiscus), mogra, curry leaf, tomato |
| About 40 cm (16 inch) | 4, in a ring | Bougainvillea, lemon, champa |
| Grow bags and raised beds | One dripper every 30 cm, or a drip line | Vegetables, leafy greens |
Part 6
Setting up a simple drip system on a balcony
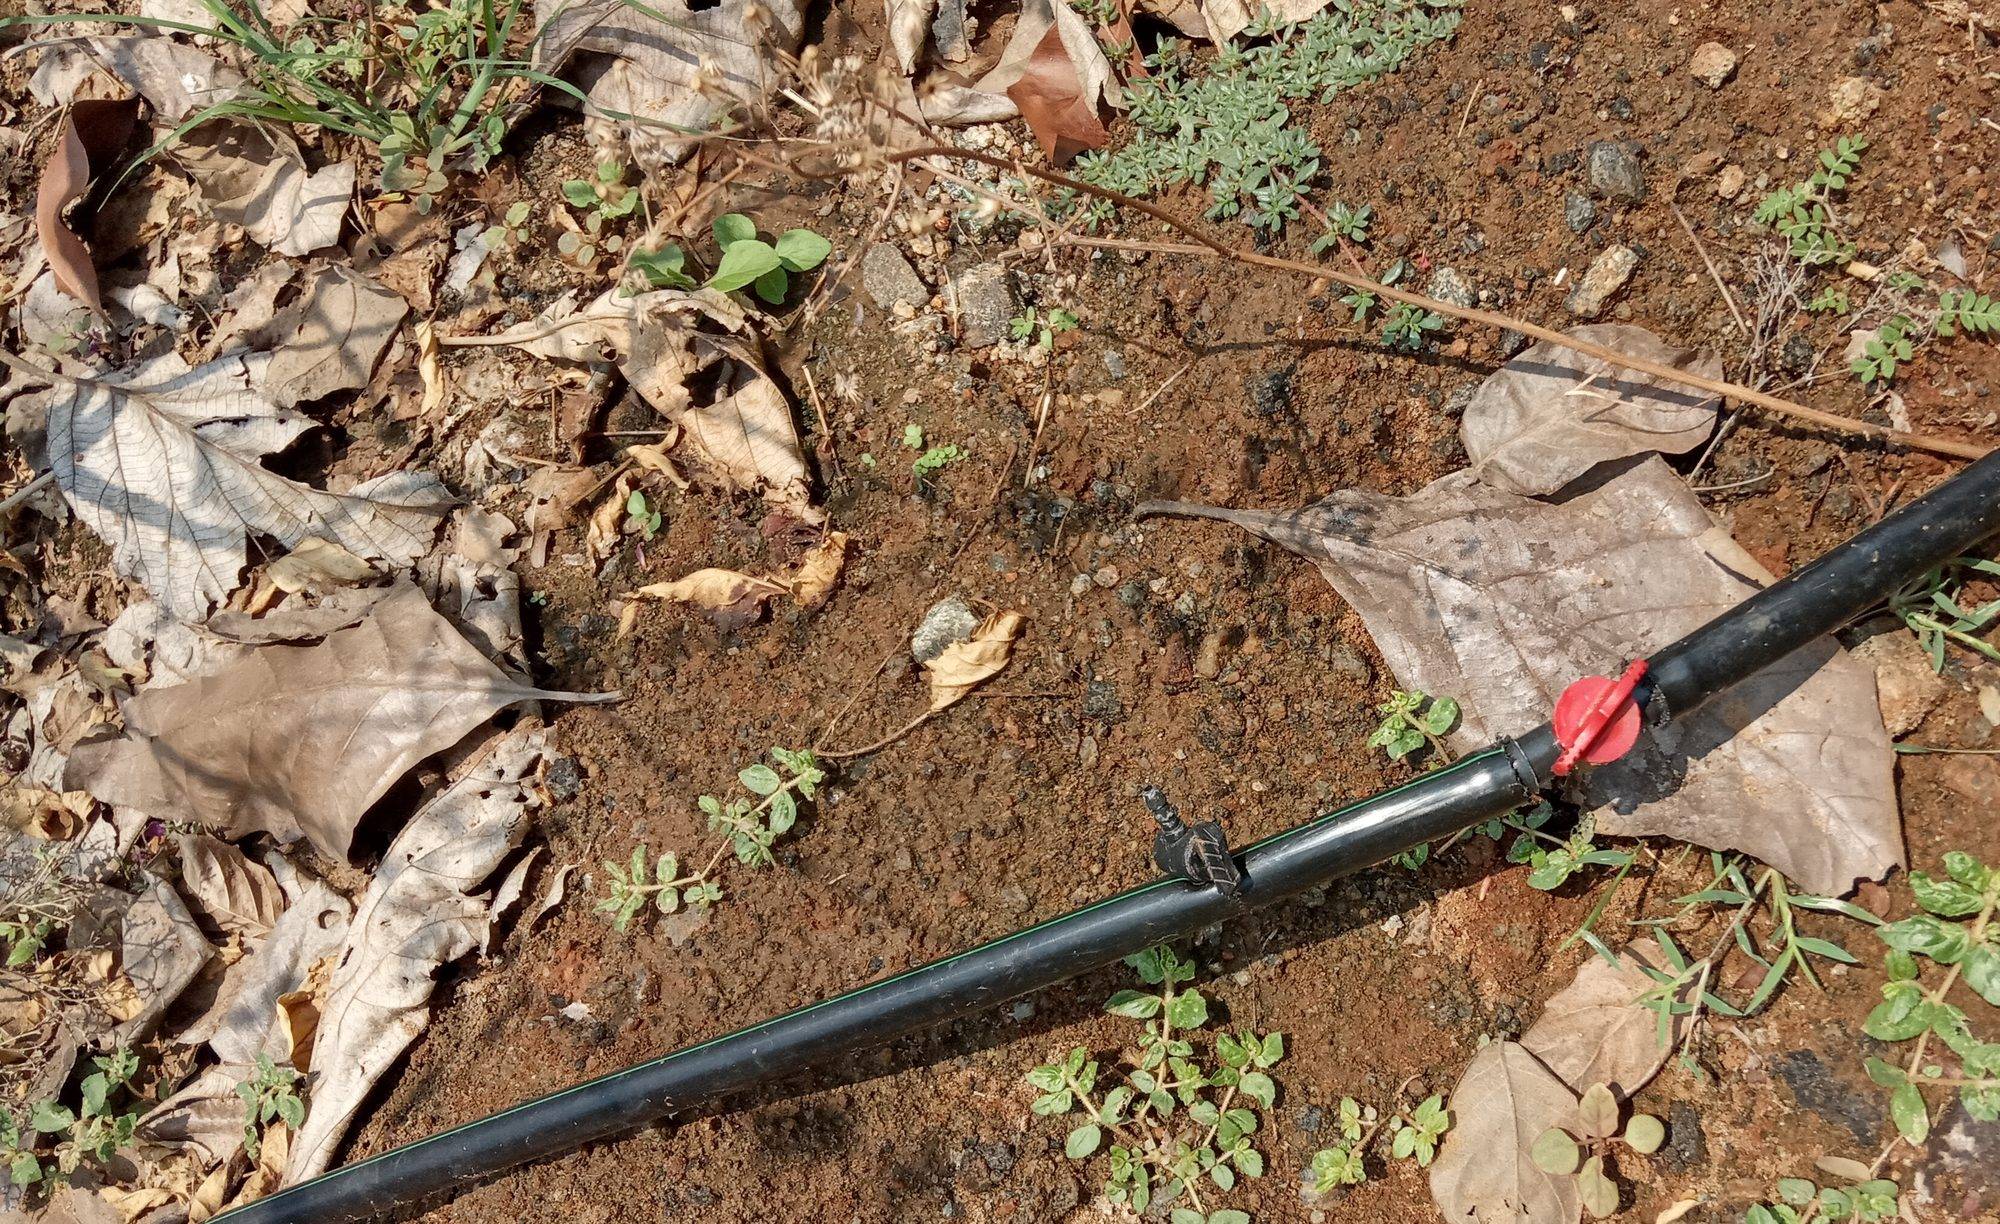
A tap-timer drip kit for 10–20 pots takes an afternoon. These are the steps we follow on a balcony install.
- Check the tap: it should be a threaded garden tap, and the pressure should be steady. On upper floors fed by a terrace tank, pressure can be low; pressure-compensating drippers then need a small pump.
- Fit the filter, then the timer, then the pressure reducer if your kit has one. A filter at the start saves you from blocked drippers later.
- Lay the main pipe along the back of the pots or under the railing planters, and clip it to the wall or railing so it does not sag.
- Punch a hole in the main pipe beside each pot, push in a connector, and run thin tubing to a dripper on a stake in the pot. Keep the dripper a few centimetres from the stem.
- Close the far end of the main pipe with an end cap. Open it once a month to flush out dirt.
- Set the clock, the start time (early morning is best) and the run time, then do a test run and check every dripper.
Part 7
Self-watering pots, wicks and clay spikes
For three to ten indoor pots, or for a weekend away, you may not need a timer at all. A self-watering pot has a reservoir under the soil; a wick or a column of soil pulls water up as the plant uses it. Fill the reservoir through the side tube and watch the level gauge. Money plant, peace lily, snake plant, syngonium and most leafy houseplants do well in them. Succulents and aloe do not like constantly damp soil and are better without one.
Wick watering is the home-made version: a nylon cord from a bucket of water, buried a few centimetres in the pot. Nylon lasts longer than cotton, which rots. Terracotta spikes and buried clay pots (ollas) seep water through the clay as the soil dries; fill them every few days. Bottle drippers are a plastic bottle on a spike, and suit a short trip. All of these cost little, need no power and serve one pot each, so for a whole balcony a drip kit works out cheaper per pot.
Part 8
Indoor plants: is drip a good idea?
Yes, with care. Indoors there is no sun and wind to dry the pots, so plants need much less water than outside, and a leak can damage wooden floors and furniture. Use a pump kit drawing from a bucket placed lower than the pots, low-flow or adjustable drippers turned nearly shut, a saucer under every pot, and runs every two or three days rather than daily. Check after the first week and cut the run time if the top soil stays wet. For a few indoor plants, self-watering pots are simpler.
Part 9
Build one yourself: Arduino automatic plant watering system
If you are a student, a hobbyist or simply like tinkering, an Arduino plant watering system is a good first project and costs a few hundred rupees in parts. It waters a pot when the soil is actually dry, instead of on a clock. Here is a design that works reliably, with the mistakes that make most college-project versions fail within a month.
How it works, in one line: a soil-moisture sensor in the pot gives the Arduino a number; when that number says the soil is dry, the Arduino switches a relay that turns on a small pump in a water container for a few seconds, then waits for the water to soak in before it checks again.
- Use a capacitive sensor, not the cheap two-pronged resistive fork. The fork passes current through the soil, and its metal corrodes within weeks, so the readings drift and the plant is over- or under-watered. A capacitive sensor has no exposed metal in the soil. Push it in only up to the marked line: the electronics at the top are not waterproof.
- Wiring, in words: sensor VCC to 5 V (3.3 V on an ESP32), GND to GND, and its signal (AOUT) to analog pin A0. Relay VCC to 5 V, GND to GND, IN to a digital pin such as D7. The pump's positive wire goes from its own power supply through the relay's COM and NO (normally open) terminals; the pump's negative goes to that supply's negative. If you use a MOSFET instead of a relay, join the pump supply's ground to the Arduino's ground and put a diode across the pump.
- Never power the pump from the Arduino's 5 V pin. Even a tiny pump draws more current than the board can supply when it starts, which resets the Arduino or damages it.
- Calibrate before you trust it: note the sensor reading with the probe in dry air and again in a glass of water, and map that range to 0–100% moisture. Then water the pot by hand, wait an hour and note the reading; let it dry until the plant just needs water and note that too. Those two numbers are your thresholds. On capacitive sensors the number usually falls as the soil gets wetter.
- Program logic: take ten readings a second apart and average them, because single readings jump. If the average is drier than your "dry" threshold, run the pump for a fixed few seconds (start with 3–5 seconds for a small pump on one pot), then wait at least 15–30 minutes for the water to spread before reading again. Water again only if it is still drier than the "wet" threshold. This gap between two thresholds (hysteresis) stops the pump clicking on and off.
- Build in limits: a maximum pump run per watering, a maximum number of waterings a day, and a stop if the float switch says the container is empty. A pump that runs dry overheats, and a pump that never stops floods the balcony.
- With a DS3231 clock, allow watering only between 6 and 9 am. Watering at midday wastes water, and the clock keeps the right time after a power cut.
- Phone control: an ESP32 runs the same logic and can report the moisture level and the tank alert to an app such as Blynk, or to Home Assistant through ESPHome. Add a manual "water now" button and a holiday mode.
- Try it in Tinkercad first. Tinkercad Circuits has an Arduino Uno, a soil-moisture sensor and a relay, so you can build the circuit and test your code in the browser, with a DC motor standing in for the pump, before buying anything.
| Part | What it does | Approximate price |
|---|---|---|
| Arduino Uno or Nano (compatible board) | Reads the sensor and decides when to water | ₹200–350 |
| ESP32 board (instead of Arduino, optional) | Same job plus Wi-Fi for phone control | ₹300–600 |
| Capacitive soil-moisture sensor (v1.2 or v2.0) | Measures how wet the soil is | ₹50–150 |
| 5 V relay module, 1 channel (or a logic-level MOSFET) | Switches the pump on and off | ₹35–80 |
| Mini submersible pump, 3–6 V (or 12 V diaphragm pump) | Pushes water to the pot; 12 V types lift higher and reach more pots | ₹40–500 |
| Silicone or PVC tubing, 1–2 m | Carries water from the container to the pot | ₹30–100 |
| Separate power supply for the pump (5 V 2 A or 12 V adapter) | Powers the pump; never from the Arduino's pin | ₹150–350 |
| Float switch (recommended) | Stops the pump when the container runs dry | About ₹100 |
| DS3231 real-time clock (optional) | Lets it water only in the morning, and keeps time through power cuts | ₹100–250 |
| Jumper wires, a small project box, a 5 to 20 litre container | Holds it together and keeps water away from the board | ₹100–300 |
Part 10
DIY Arduino system or a ready-made one?
A DIY system teaches you a lot and costs little, but it is a prototype. Most hobby builds fail on the same things: loose jumper wires, a sensor that corrodes or drifts, a pump that runs dry, and electronics left in the rain or sun on a terrace. A ready kit or an installed system is tested, weatherproof and covered by a warranty or service, and it will still be watering your tulsi and money plant while you are away for two weeks.
| DIY Arduino | Ready kit | Installed system | |
|---|---|---|---|
| Approximate cost | ₹800–2,000 in parts | ₹2,500–15,000 | From ₹4,500 in Pune |
| Your time | A weekend, plus fixes | An afternoon | None; we set it up |
| Reliability while you travel | Test for weeks first | Good | Good, with a yearly service |
| Weatherproofing | Your own box and sealing | Built in | Built in, pipes hidden |
| Warranty or support | None | Seller warranty | Yearly service included |
| Best for | Students, makers, learning | Balconies and indoor pots | Terraces, gardens, offices |
Part 11
For offices, lobbies and housing societies
In offices and societies, the problem is rarely the plants; it is that watering depends on whoever remembers. Lobby and reception planters do best with built-in reservoirs, topped up on a weekly visit. Terrace gardens on office buildings, podium gardens and society landscapes do best on drip and micro-sprinkler zones run by a mains timer, with a filter and a lockable controller so nobody changes the settings. We survey the water source and pressure, divide the garden into zones by sun and plant type, and add the system to the maintenance contract so drippers are checked on every visit.
Part 12
Maintenance: keeping drippers flowing
A drip system needs about ten minutes a month. Most failures we are called for come from the same few causes.
- Clean the filter every month, and every two weeks if the water comes from a tank or borewell.
- Hard water leaves white salt deposits that block drippers. Soak blocked drippers in vinegar overnight, and flush the line by opening the end cap.
- Change timer batteries before the summer and before any long trip; many timers stop when the batteries run low.
- Ants nest inside drippers and fittings; rats, squirrels and birds chew thin tubing on terraces. Check every dripper after the first week and after the monsoon, and keep spares.
- Pipes left in the open sun go brittle. Use UV-stable pipe on terraces, and hide lines behind pots or under mulch.
- Reset the run time each season: summer, monsoon and winter need different schedules.
Part 13
Common mistakes to avoid
Most systems that disappoint people were set up with one of these mistakes. Each one is easy to avoid.
- Giving every pot the same dripper whatever its size: small pots drown while large ones stay dry.
- Watering at midday: much of the water evaporates. Early morning is best, with a second short run in the evening in peak summer.
- Running the timer through the monsoon on an open terrace: roots rot in waterlogged pots.
- Skipping the filter: one blocked dripper means one dead plant while you are away.
- Not testing before a trip: run the system for a week while you are home and adjust it.
- Putting succulents and thirsty flowering plants on the same line.
- Leaving the tank or bucket uncovered: mosquitoes breed in open water, and algae clogs the drippers.
Questions
How does an automatic plant watering system work?
A timer, pump or sensor controls water from a tap, tank or bucket. At the set time it sends water through a pipe to a dripper or sprinkler at each plant, which lets out a slow, measured flow at the roots, then stops.
What is the cost of an automatic plant watering system in India?
Roughly ₹2,500–4,500 for a tap timer with a drip kit for 10–50 plants, ₹2,500–5,000 for a pump kit for about 10 pots, and ₹7,000–15,000 for a Wi-Fi kit, at October 2026 online prices. Installed systems from Garden & Acre start at ₹4,500 per home kit in Pune.
Do automatic watering systems need electricity?
Not always. Tap timers run on AA batteries, and self-watering pots, wicks and clay spikes need no power at all. Pump kits need a USB adapter, batteries or a solar panel, and Wi-Fi controllers need power and home Wi-Fi.
Can I use an automatic watering system on a balcony without a tap?
Yes. A pump kit draws water from a bucket, drum or tank and pushes it through thin tubing to each pot on a timer. Refill the tank before a long trip: ten small pots use roughly three to four litres a day in summer.
How long can plants survive with self-watering?
A self-watering pot usually keeps a houseplant going for several days to about two weeks, depending on the reservoir size, the plant and the weather. A drip system on a tap keeps working as long as the water and batteries last; a pump kit lasts as long as its tank.
Is drip irrigation good for indoor plants?
Yes, if you use low-flow or adjustable drippers, a saucer under every pot and short runs every two or three days. Indoor plants need much less water than plants outside. For a few pots, self-watering pots are simpler.
How long should I run drip irrigation for potted plants?
Start with 5–10 minutes and look at the pots: stop when water just begins to drain from the bottom. In Indian summers most pots need a daily run; in winter every two or three days; on open terraces, pause it during the monsoon.
Does drip irrigation work without an overhead tank?
Yes. On a tap, it uses the tap pressure. Without a tap or tank, a small pump with pressure-compensating drippers gives every pot the same amount of water, even at the end of a long line.
Which is better: a Wi-Fi controller or a simple timer?
A simple tap or pump timer is enough for most homes. A Wi-Fi controller is worth it if you travel often, look after plants at a second home or office, or want to change the schedule and skip rainy days from your phone.
Why do drippers stop working?
Usually hard-water salts, dirt from a tank, ants nesting inside, or chewed tubing. Clean the filter monthly, soak blocked drippers in vinegar, flush the line through the end cap and check every dripper after the monsoon.
How does an Arduino plant watering system work?
A soil-moisture sensor in the pot sends a reading to the Arduino. When the soil is drier than a set level, the Arduino switches a relay that runs a small pump for a few seconds, then waits for the water to soak in before it checks again. A float switch stops the pump if the water container is empty.
Which soil moisture sensor is best for an Arduino watering system?
A capacitive soil-moisture sensor. The cheap two-pronged resistive sensor corrodes within weeks because current flows through its metal probes, so its readings drift. Capacitive sensors have no exposed metal in the soil and cost only about ₹50–150 in India.
Can I power the water pump from the Arduino?
No. Even a small 3–6 V pump draws more current than the Arduino's 5 V pin can give, which resets or damages the board. Power the pump from its own adapter, switch it through a relay or MOSFET, and join the grounds if you use a MOSFET.