What you need
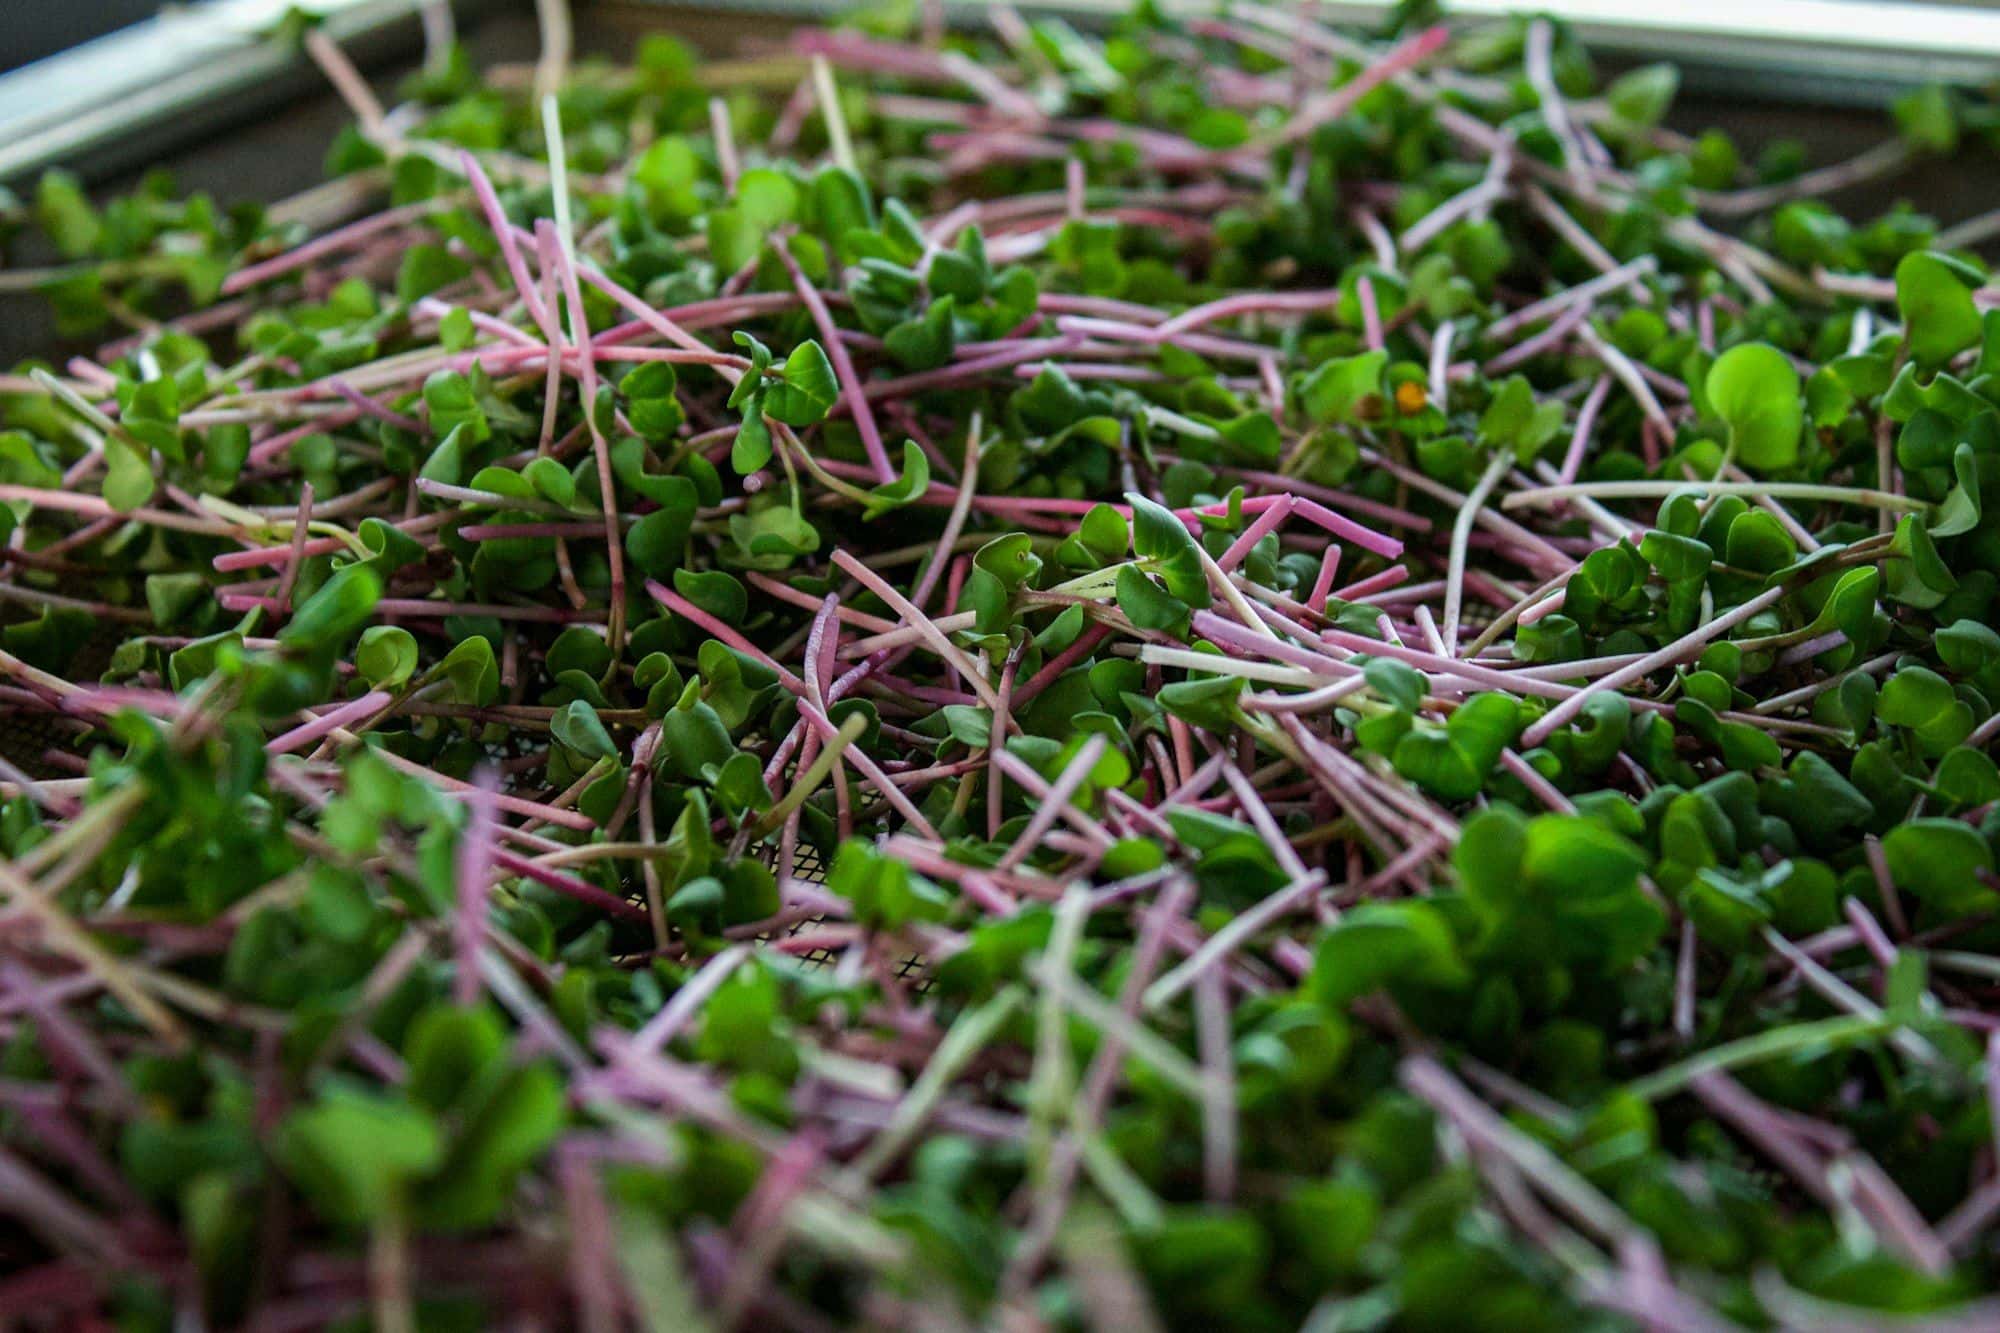
Microgreens need very little equipment. The University of Maryland Extension lists a container, a light, soilless mix and seed. A shallow tray with drainage holes is the usual container; the standard size in the trade is the 10 × 20-inch "1020" tray, but a clean food container with holes cut in the base works for a kitchen batch. UF/IFAS recommends a container 2 to 3½ inches (5–9 cm) deep that is food grade and clean.
For the growing medium, UMD suggests a lightweight soilless mix 1 to 1½ inches (2.5–4 cm) deep, and says no fertiliser is needed because the crop is so short. In India, most research and commercial growing uses cocopeat or cocopeat blends. The ICAR-IARI team behind Priti et al. (2022) used cocopeat, vermiculite and sand at 2:1:1 and found that mix held water best of the three blends tested.
- A shallow tray with drainage holes, plus a second tray without holes to stand it in
- Soilless mix or cocopeat, 2.5–4 cm deep (or a jute or hemp mat for soil-free growing)
- Untreated seed sold for microgreens or sprouting
- A spray bottle for misting during germination
- A cover: an upturned tray, a lid, or a sheet of cardboard
- A sunny window or an LED grow light, with a timer if you use a light
- Sharp scissors for harvesting
Step-by-step: from seed to harvest
The sequence below follows the UMD, Penn State and UF/IFAS extension guides. The timings are typical ranges, and the variety and the room temperature decide where in the range a tray falls. Brassicas such as radish, mustard and broccoli are the fastest and the easiest to learn on. Johnny's Selected Seeds harvested its radish trays at 8–9.5 days and broccoli at 12.5 days in its 2017 trial, and the ICAR-IARI study cut moong at day 7 and Indian mustard at day 8.
- Weigh the seed for your tray (see the seed-rate table below). For large seeds such as pea, sunflower and beet, soak them first.
- Fill the tray with moist mix to 2.5–4 cm and level it. Press it lightly so the surface is flat.
- Scatter the seed evenly over the whole surface, then press it gently into the mix. A thin layer of mix or vermiculite over large seeds is optional.
- Mist the surface until it is damp, not puddled.
- Cover the tray to keep it dark and humid. For pea and sunflower, put some weight on the cover to press the seeds down.
- Keep it covered for about 3–5 days, misting once or twice a day, until the seeds have rooted and the shoots lift the cover.
- Uncover the tray and move it to a bright window or under a grow light for about 16 hours a day.
- Water from below: pour water into the tray without holes and let the mix soak it up for a few minutes, then drain the rest.
- Harvest 7–21 days after sowing, when the seed leaves are fully open and the first true leaves are appearing. Cut just above the mix.
- Compost the used mix and wash the tray before the next sowing.
How much seed to sow
Microgreens are sown far more thickly than a garden crop, because each plant is cut before it needs space. UMD suggests about 1 tablespoon of seed, or 10–15 grams, per 10 × 20-inch flat, and Penn State gives the same 10–15 grams. By count, UF/IFAS suggests 10–12 seeds per square inch for small seeds and 6–8 for large ones. Weight varies more than count because seed size varies: Johnny's used 8 grams of mustard seed per 1020 tray but 22.5–28.5 grams of radish.
Too much seed causes problems. A 2026 trial by Dubey and colleagues found that yield of cress and rocket peaked at 12 seeds per cm², while bacteria, yeasts and moulds on the crop rose steadily as density went up. The ICAR-IARI study recorded 3 seeds per cm² as the best density for moong and lentil, and 8 per cm² for Indian mustard. For a first tray, start at the lower end of the ranges below and adjust from what you see.
| Microgreen | Seed per 1020 tray | Days to harvest | Source |
|---|---|---|---|
| Radish | 22.5–28.5 g | 8–9.5 | Johnny's 2017 trial |
| Broccoli | 13 g | 12.5 | Johnny's 2017 trial |
| Red cabbage | 10.5 g | 13.5 | Johnny's 2017 trial |
| Arugula | 10 g | 14 | Johnny's 2017 trial |
| Mustard (Garnet Giant) | 8 g | 12.5 | Johnny's 2017 trial |
| Amaranth (Garnet Red) | 7.5 g | 17 | Johnny's 2017 trial |
| Beet (Bull's Blood) | 23 g | 17 | Johnny's 2017 trial |
| Coriander (cilantro) | 26 g | 20 | Johnny's 2017 trial |
| Moong | 3 seeds per cm² | 7 | Priti et al. 2022 (ICAR-IARI) |
| Indian mustard (sarson) | 8 seeds per cm² | 8 | Priti et al. 2022 (ICAR-IARI) |
| Any small seed | 10–15 g, or 10–12 seeds per sq inch | 7–21 | UMD; Penn State; UF/IFAS |
Soaking seeds before sowing
Large, hard seeds germinate faster and more evenly after a soak. UMD lists pea, sunflower, corn, chickpea, beet, Swiss chard, coriander, moong and buckwheat as seeds that benefit from 6–12 hours in water. Penn State suggests soaking overnight for 8–12 hours and rinsing the seeds under running water a couple of times during the soak. UF/IFAS gives times by crop, set out below.
Small seeds such as mustard, radish, broccoli, cabbage, basil and chia are not soaked. Chia and basil form a gel when wet, which makes them hard to spread, so they are scattered dry onto a damp surface. After soaking, drain the seed well and sow it the same day, so it goes into the tray while it is clean and just swollen.
- Beet: 24 hours (UF/IFAS)
- Pea: 8–12 hours (UF/IFAS)
- Sunflower: 8 hours (UF/IFAS)
- Wheat (for wheatgrass): 8 hours (UF/IFAS)
- Coriander: 2 hours (UF/IFAS)
- Buckwheat: 12 hours, then rinse and drain twice a day for 2 days (UF/IFAS)
- Moong, chickpea, Swiss chard: 6–12 hours (UMD)
The blackout stage: germinating in the dark
Seeds germinate best covered and in the dark, where the surface stays humid and the shoots push up evenly. UF/IFAS says to keep trays covered and dark for 4–5 days, or until the seeds germinate, misting twice a day. The MANAGE handbook from Hyderabad describes about 3 days in the dark before the trays go into light, and the Lovely Professional University study by Gunjal and colleagues (2024) also used 3 days of darkness.
Warmth speeds this stage. UMD gives 70–75°F (21–24°C) as the ideal range for germination and notes that cabbage-family seeds germinate in about 36 hours at 72°F (22°C). Penn State recommends putting weight on pea and sunflower seeds during germination; a second tray with a brick or a bag of water on it works. The weight helps the roots grip the mix and pushes the seed hulls off. Take the cover off as soon as most shoots are up; a long blackout gives pale, stretched stems.
Light: a window or an LED grow light
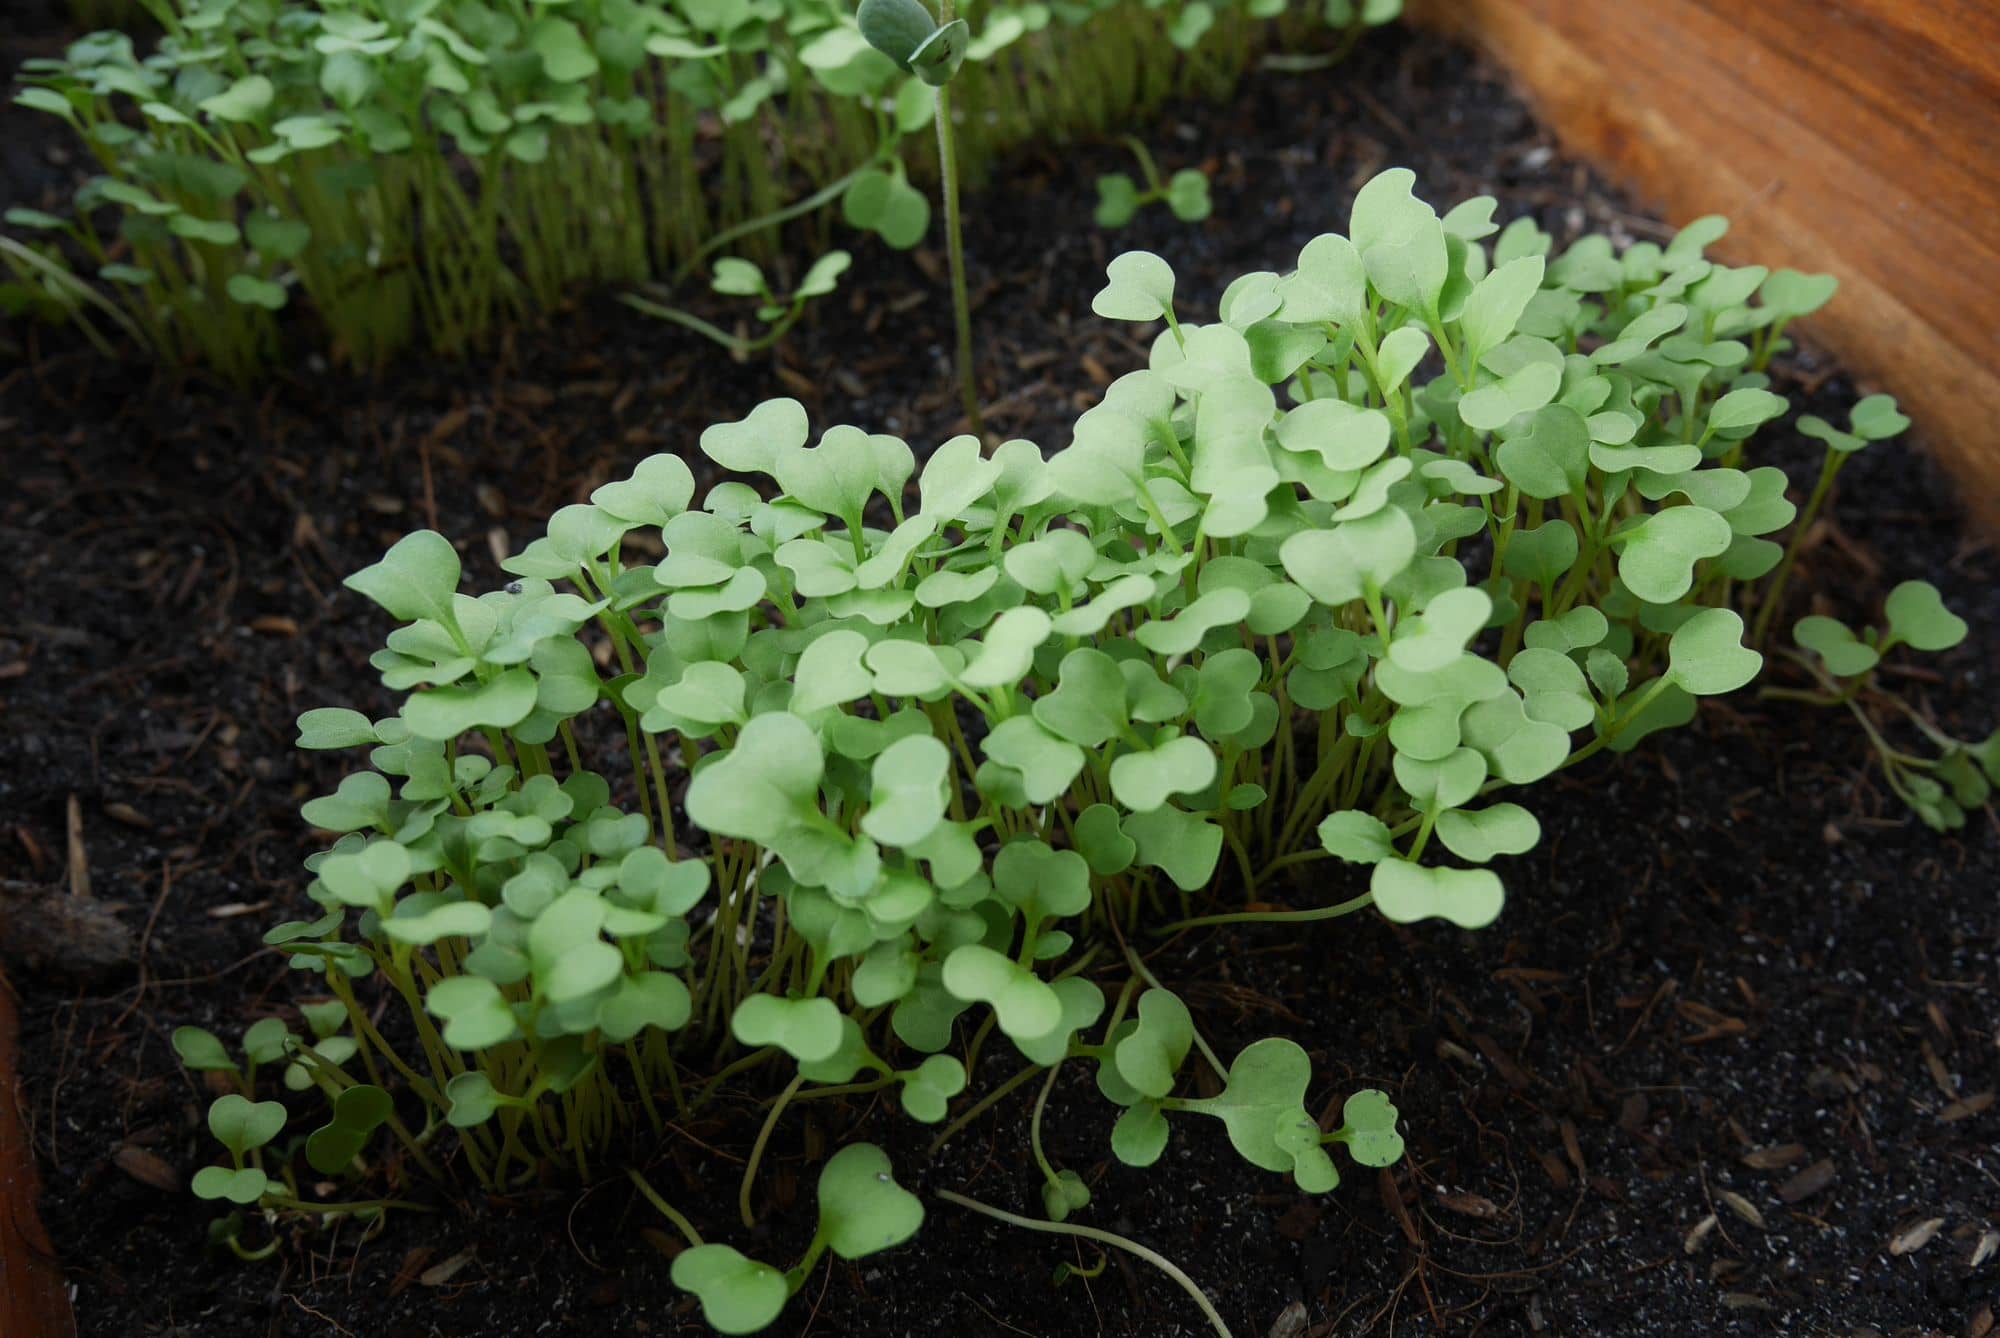
Once uncovered, microgreens need light to turn green and grow sturdy. UMD suggests about 16 hours of light a day, from a sunny window or from fluorescent or LED grow lights hung 6–12 inches (15–30 cm) above the leaves, and notes that LEDs use less energy than fluorescent tubes. Penn State calls microgreens a low-light crop, needing a daily light integral below 20 mol per m² per day. A 2024 review by Dubey and colleagues found that studies commonly used 100–300 µmol per m² per second and recommended about 150.
A window is free but uneven. UF/IFAS and Penn State both point to a south-facing window, and UF/IFAS says to turn the tray 180 degrees every day so the greens do not lean towards the glass. In much of India, monsoon cloud can cut window light for weeks at a time. A small LED on a timer gives the same result every week, which matters if you want to grow on a schedule.
| Sunny window | LED grow light | |
|---|---|---|
| Running cost | None | Electricity for about 16 hours a day |
| Consistency | Varies with season, cloud and the window's direction | The same every day, on a timer |
| Placement | South-facing is best; turn the tray daily | 15–30 cm above the leaves |
| Common problem | Leaning, stretched stems in dull weather | Heat and bleached leaves if hung too close |
| Best for | One or two trays in the cooler months | Year-round growing and several trays |
Watering without drowning the tray
During germination, UMD recommends misting to keep the surface moist, then watering from below or above once the seedlings are up, keeping the mix "moist but not saturated". Penn State recommends sub-irrigation, meaning water fed from below, because it keeps leaves and stems dry, which it says is important to avoid disease. At home, that means standing the tray with holes in a tray without holes, adding a little water to the bottom tray and letting the mix draw it up.
Overwatering causes more failed trays than underwatering. The Dubey review notes that over-irrigation leaves leaves wet and makes plants prone to disease. Lift the tray: a light tray needs water, a heavy one does not. Water in the morning so the surface can dry by evening, and never leave standing water in the bottom tray overnight. Penn State's step-by-step guide gives the rule in one line: water only if necessary, and avoid excess moisture.
When and how to harvest
UMD defines microgreens as 2–3 inches (5–8 cm) tall and harvested 7–21 days after sowing, and says to cut the stems just above the soil line once the true leaves have expanded. Penn State gives 1.5–3 inches and 7 to 21 days, and advises sharp scissors over electric clippers, because clippers tear the stems and shorten how long the greens keep. UF/IFAS suggests harvesting in the morning or at night.
Cut only what you will use, and cut above the mix so no soil or cocopeat ends up in the bowl. Penn State says to wash microgreens before eating them. Most microgreens do not regrow well after a cut. UF/IFAS notes that some crops give one more small harvest, but the first cut is the best, so compost the mat of roots and resow. For a steady supply, sow a small tray every few days rather than one large tray.
Growing in Indian summer heat and monsoon humidity
Most growing guides are written for cooler climates. Penn State gives 60–70°F (16–21°C) for air and 60–75°F (16–24°C) for the growing mix, and the Dubey review puts the optimum at 17–20°C. Johnny's recorded that a week of heat into the high 80s and low 90s °F, roughly 30–34°C, sped growth but made the trays less even and lower in quality. An Indian room in April or May runs hotter than any of these ranges.
Indian research shows what copes with heat. The ICAR-IARI trial grew moong at 28/26°C day and night, against 21/18°C for lentil and mustard. A study summarised in the Seth et al. (2025) ICAR review grew wheat, ragi, green gram, horse gram, amaranth and mustard microgreens at room conditions of about 29°C and 73% humidity. In summer, lean on moong, wheat and ragi, grow in the coolest room, and harvest a day or two earlier.
The monsoon brings the opposite problem: damp air for weeks. The Dubey review gives 50–70% relative humidity as the typical range for microgreens. Penn State names damping-off as the main disease it has seen, favoured by warm, humid conditions, and Bhaswant et al. (2023) note that densely sown brassica trays are vulnerable to Pythium root rot. In the monsoon, sow thinner, water only from below, run a small fan near the trays, and use fresh mix every time.
Troubleshooting: mould, damping-off, leggy growth
Most problems come from too much water, too much seed, too little light or too much heat. The table sets out what each looks like and what to change. The first row matters most, because new growers often throw out healthy trays. Fine white fuzz on the roots of young seedlings is usually root hairs, a normal part of the root; the Bhaswant review describes microgreens as having small roots with root hairs. Mould spreads over the seeds, stems or mix as a web.
| What you see | Likely cause | What to do |
|---|---|---|
| Even white fuzz on the roots only, 2–4 days after sowing | Root hairs, which are normal | Nothing. Mist it: root hairs flatten and look wet, mould does not |
| Grey or white web over seeds, stems or mix, often with a musty smell | Mould | Discard badly affected trays. Next time sow thinner, water from below, add airflow |
| Seedlings collapse in patches at the base, stems thin and water-soaked | Damping-off (often Pythium) | Discard the tray. Use fresh mix each cycle, lower seed density, avoid warm and wet conditions |
| Tall, pale, floppy stems leaning to one side | Too little light, or blackout kept too long | Uncover sooner, move closer to the window or light, turn the tray daily |
| Patchy or slow germination | Old seed, uneven watering or cold | Run a germination test on the seed; keep the tray covered and warm |
| Seed hulls stuck on the leaves | No weight during blackout (pea, sunflower) | Weight the cover during germination; brush hulls off before cutting |
| Yellow leaves after uncovering | Normal straight after blackout | Give light; the leaves turn green once they are in light |
Fresh microgreens in Pune
Growing your own is the best way to learn the crop, but a steady supply takes a new tray every few days. If you live in Pune or Pimpri-Chinchwad and would rather buy them fresh, Garden & Acre delivers fresh microgreens from our own supply chain, as a weekly box for homes or as regular supply for restaurants, cafés and hotels. Orders are taken on WhatsApp, where we share the varieties available that week and the prices.
Questions
How many days do microgreens take to grow?
Most take 7–21 days from sowing to harvest. UMD gives that range, and fast crops sit at the short end: moong was ready at day 7 and Indian mustard at day 8 in the ICAR-IARI trial, and radish at 8–9.5 days in Johnny's trial. Herbs such as basil and coriander took about 19–25 days in the same trial.
Can I grow microgreens without sunlight?
Yes, under a grow light. UMD suggests about 16 hours a day from a fluorescent or LED light hung 15–30 cm above the leaves. Penn State calls microgreens a low-light crop, so a modest LED is enough for a tray or two. Without any light the seedlings stay yellow and stretch.
Do microgreens need fertiliser?
Not usually. UMD says no fertiliser is needed when you grow in a soilless mix, because the crop is cut within two or three weeks and lives mostly on the food stored in the seed. Growers using bare mats sometimes add a weak nutrient solution for slower crops, but it is not needed for radish, mustard or moong.
Is the white fuzz on my microgreens mould?
Often it is not. Fine, even white fuzz on the roots of young seedlings is usually root hairs, which are a normal part of the root. Mist it: root hairs flatten and look wet. Mould spreads as a grey or white web over seeds, stems or the mix, often in patches, and usually smells musty.
Can I reuse the soil after harvesting microgreens?
It is better not to reuse it for the next tray. Penn State recommends fresh growing media each cycle to reduce damping-off, the main disease problem in microgreens. Old mix is full of roots and can carry disease. Put it on the compost heap or into garden beds and start the next tray with fresh mix.
Which microgreens are easiest for beginners in India?
Moong, Indian mustard (sarson), radish and fenugreek (methi) are good first crops. They are fast, the seed is easy to find, and moong in particular copes with heat: the ICAR-IARI trial grew it at 28°C by day and harvested it at day 7. Leave basil, coriander and beet until you have grown a few trays.
Do microgreens grow back after cutting?
Most do not grow back well. UF/IFAS notes that some crops give one more small harvest, but the first cut is the best. For a steady supply, sow a small new tray every few days instead of waiting for a regrowth.
Sources
- Growing Microgreens and Baby Greens Indoors — University of Maryland Extension
- A Step-By-Step Guide for Growing Microgreens at Home — Penn State Extension
- Growing Microgreens — Sanchez and Berghage, Penn State Extension
- Microgreens — UF/IFAS Gardening Solutions
- Micro Greens Yield Trial 2017 — Johnny's Selected Seeds
- Yield optimization, microbial load analysis, and sensory evaluation of mungbean, lentil, and Indian mustard microgreens — Priti et al., PLoS One, 2022 (ICAR-IARI)
- Microgreens Production: Exploiting Environmental and Cultural Factors for Enhanced Agronomical Benefits — Dubey et al., Plants, 2024
- Microgreens: Optimising Seed Density and Exploring the Influence of White Light and UV-A — Dubey et al., Plants, 2026
- Microgreens: A Comprehensive Review of Bioactive Molecules and Health Benefits — Bhaswant et al., Molecules, 2023
- Microgreens: Functional Food for Nutrition and Dietary Diversification — Seth et al., Plants, 2025
- Assessment of bioactive compounds, antioxidant properties and morphological parameters in selected microgreens cultivated in soilless media — Gunjal et al., Scientific Reports, 2024
- Microgreens for Nutritional Security — Kumari, Junuthula and Mandapaka, MANAGE Hyderabad, 2023